Whether it’s summer break and your 10-year-old has seemingly endless free time, or you need some ideas on how to keep them entertained on rainy days (besides screens), having a list of easy arts and crafts ideas on deck is always a good idea. Fun crafts are a great way to engage your kiddo’s creativity, hand-eye coordination, and fine motor skills, plus they’re a ton of fun and leave them with an artifact showcasing their hard work.
If your kiddo is bored of friendship bracelets, it’s time to mix it up with some new craft ideas. Fear not if you’re not the artsy type and struggle to come up with craft projects yourself, because we’ve compiled a list of simple crafts that are suitable for 10-year-olds, along with step-by-step instructions. No craft kits required, and you likely have some of the art supplies needed already laying around your house. You and your little artist will be crafting in no time!
- Tissue Paper Flowers
Tissue paper flowers are one of the best art projects for kids of all ages, and your kid is sure to love creating a beautiful bouquet that rivals the real thing. Older girls especially love making elaborate bouquets with lots of gorgeous colors!
Materials you’ll need:
- Different colored tissue paper
- Pipe cleaners or floral wire
- Scissors
Instructions:
- Start by cutting the tissue paper into squares or rectangles. You can vary the size depending on how big you want your flowers to be. Smaller squares will result in smaller flowers, while larger ones will create bigger flowers.
- Take a stack of tissue paper sheets in one color and layer them on top of each other. The number of sheets you use will determine the fullness of your flower. Start with around 8-10 sheets for a medium-sized flower.
- Begin folding the layered tissue paper accordion-style. Keep folding until you reach the end of the tissue paper stack.
- Once you have finished folding the tissue paper, pinch it together in the middle to hold the accordion folds in place.
- Take a pipe cleaner or a piece of floral wire and wrap it tightly around the pinched section of the tissue paper. Twist the ends of the pipe cleaner or wire together to secure it in place. Leave a long tail of pipe cleaner or wire, as this will be the stem of your flower.
- With the accordion folds held securely by the pipe cleaner or wire, it’s time to create the petal shape. Carefully start separating each layer of tissue paper, pulling them away from the center, and fluffing them out towards the sides. Repeat this process on both sides until you have fully separated all the layers.
- Once you have fluffed out one side of the tissue paper, flip the flower over and repeat the process on the other side.
- Your tissue paper flower is complete! You can make more flowers using different colors of tissue paper and repeat the steps above.
- Acrylic Pour Painting
Acrylic pour painting is a unique technique that can lead to fun and unpredictable results. The focus isn’t on perfection, but instead on creating something abstract through an exciting process. It’s a fun way to be creative that younger and older kids alike will enjoy!
Materials you’ll need:
- Canvas or heavy paper
- Acrylic paints (various colors)
- Pouring medium
- Cups or containers for mixing paint
- Stir sticks or craft sticks
- Plastic or disposable table cover
- Plastic gloves (optional)
- Drop cloth or old newspapers (to protect the work area)
- Blow dryer or heat gun (optional)
Instructions:
- Prepare your workspace by covering the table with a plastic table cover or old newspapers. This will protect your surface from any spills or drips.
- Put on plastic gloves if desired to keep you and your child’s hands clean during the process.
- Set up your canvas or heavy paper on the covered surface.
- In separate cups or containers, pour a small amount of each acrylic paint color you’ve chosen.
- Add the pouring medium to each cup or container following the manufacturer’s instructions. The pouring medium helps to create a flowing consistency and promotes better adhesion.
- Use a stir stick or craft stick to thoroughly mix the paint and pouring medium in each cup. Stir until the mixture is smooth and well combined. Add more pouring medium or water if needed to achieve a pouring consistency. The paint should be runny but still hold its form.
- Now it’s time to pour! Starting with one color, pour a small amount onto the canvas. Pour in a straight line, a zigzag pattern, or any other design you prefer.
- Continue pouring the other colors onto the canvas, alternating between them or pouring them in separate areas. Experiment with different patterns and designs.
- Once you’re satisfied with the amount of paint on the canvas, gently tilt the canvas in different directions to encourage the colors to blend and create interesting patterns. You can also use a blow dryer or heat gun on a low setting to help move and blend the paint if desired.
- Allow the painting to dry completely. This can take several hours or even a day or two, depending on the thickness of the paint and the humidity in the environment.
3. Paper Lanterns
Paper lanterns are a sweet paper craft. They’re simple to make, and they leave you with a charming artifact you can use on summer nights.
Materials you’ll need:
- Colored construction paper or decorative paper
- Scissors
- Ruler
- Pencil
- Glue stick or craft glue
- Stapler
- Ribbon or string (optional)
Instructions:
- Begin by measuring and marking the dimensions of your lantern on the construction paper. You’ll need a rectangle shape, so use a ruler to draw two parallel lines along the long sides of the paper. The width of the rectangle will determine the height of the lantern, and the length will determine the circumference.
- Cut along the marked lines to create the rectangle shape. This will be the main body of your paper lantern.
- Fold the rectangle in half lengthwise (hot-dog style) so that the short ends meet. Crease the fold line well.
- With the paper still folded, make a series of evenly spaced cuts along the folded edge, stopping about an inch away from the opposite edge. The width of each cut will determine the size of the lantern’s “windows,” so you can choose how wide or narrow you’d like them to be.
- Open up the folded paper and bring the short ends together, overlapping them slightly. Apply glue along the overlapping edges and press them together firmly to secure the lantern’s shape. Let the glue dry.
- Cut a strip of paper from the remaining construction paper to serve as the handle of the lantern. This strip should be long enough to reach from one side of the lantern to the other when attached vertically.
- Attach the handle by gluing each end to the top edges of the lantern. Ensure that it is securely fastened in place.
- To assemble the lantern, bring the short ends of the rectangle together again, overlapping them, and staple them together near the top and bottom edges to form a cylindrical shape.
- Gently push the top and bottom of the lantern inward to create a rounded shape. The cuts made earlier will unfold, forming the windows of the lantern.
- Your paper lantern is complete! You can hang it by attaching a ribbon or string to the handle or place a battery-operated tea light inside for a warm and cozy glow.
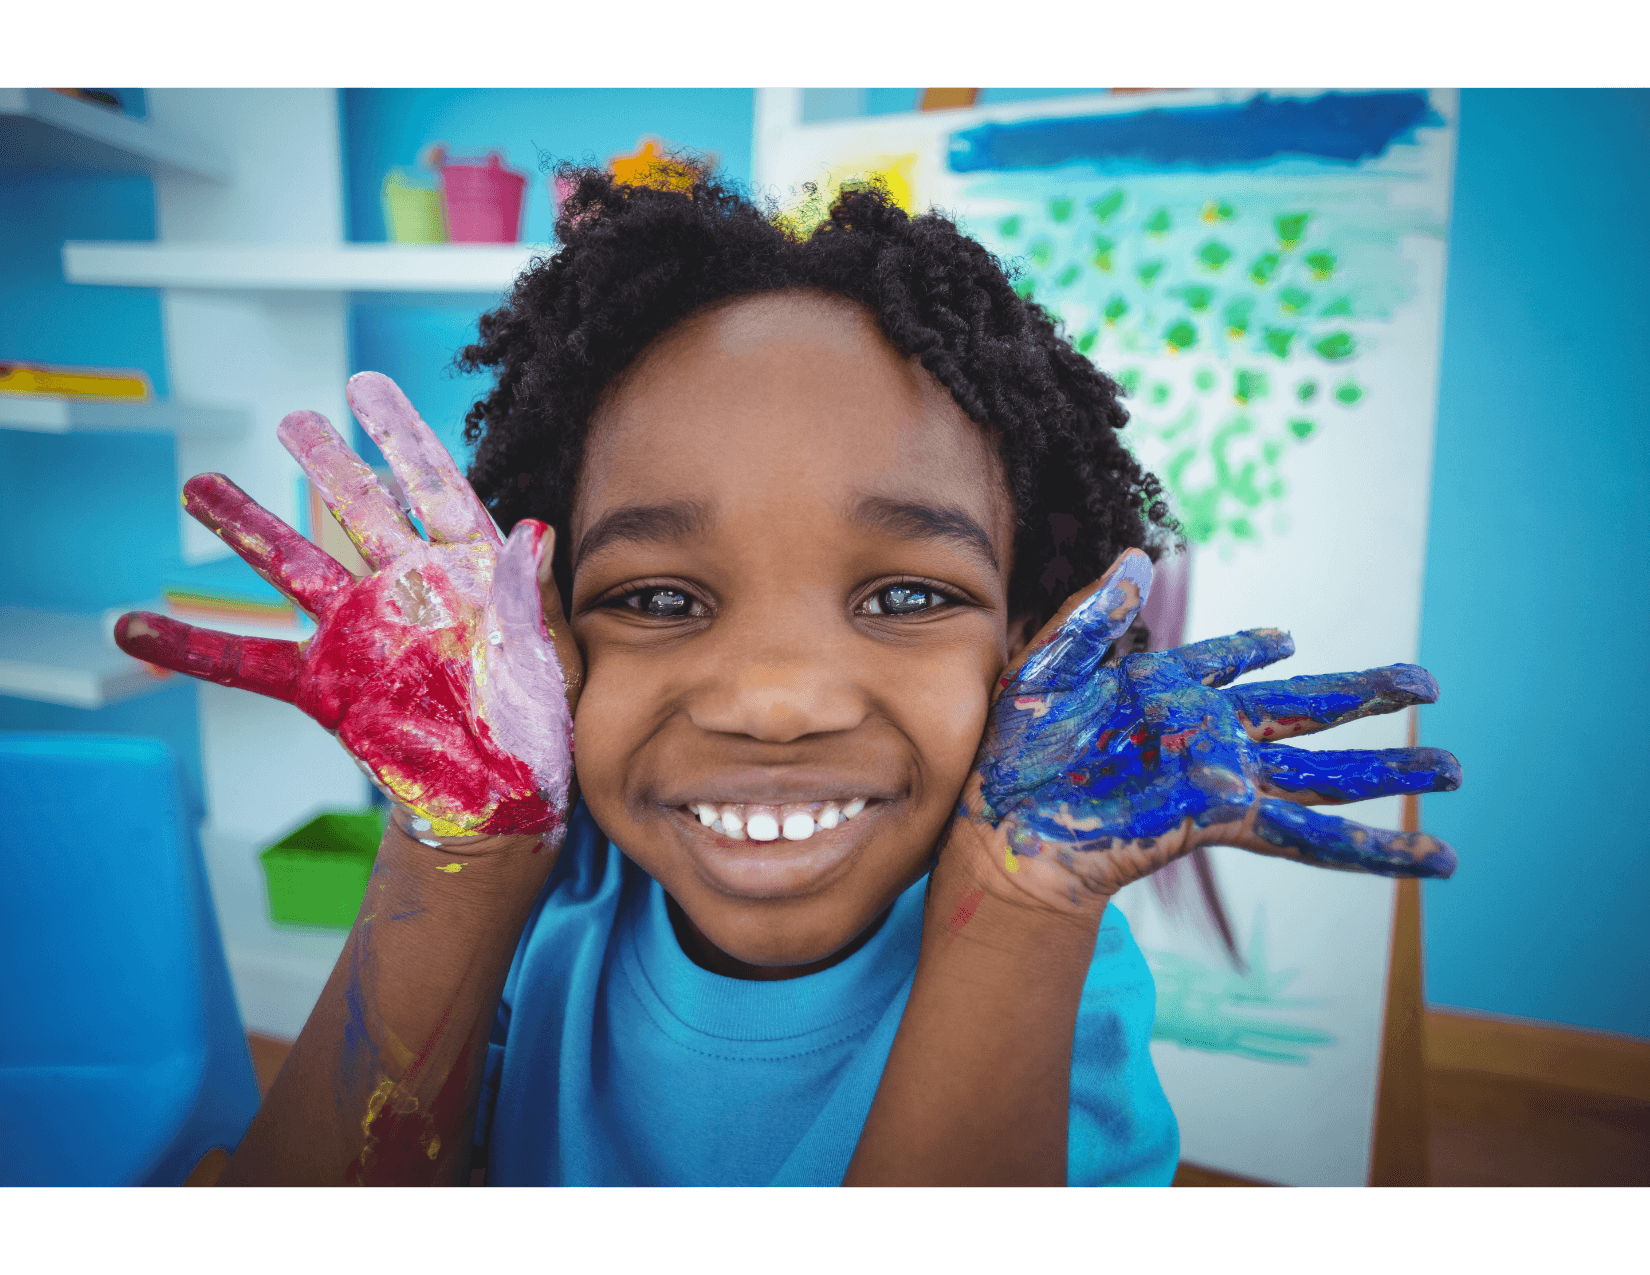
4. Finger Painting Masterpieces
Finger painting is a classic, sensory arts and crafts project for little hands that’s also so much fun. Kids love the permission to get a little messy and let their imagination flow freely.
Materials you’ll need:
- Washable finger paints
- Large sheets of paper or a canvas
- Apron or old clothes to protect against paint stains
- Paper towels or wet wipes for cleaning fingers
Instructions:
- Prepare your workspace by laying down a protective covering or using an easel with a paper pad. This will help contain any paint spills or smudges.
- Put on an apron or wear old clothes that you don’t mind getting paint on.
- Squirt a few different colors of washable finger paints onto a palette or paper plate. Make sure to provide a variety of colors for your child to choose from.
- Encourage your child to dip their fingers directly into the paint. They can experiment with different amounts of paint and mixing colors together.
- Let your child use their fingers to create strokes, swirls, dots, and any other patterns they desire. They can explore different techniques like tapping, smudging, or dragging their fingers across the paper.
- Celebrate your child’s finger painting masterpiece!
5. Craft Stick Picture Frames
This easy project is a delightful way to showcase a family photo or another piece of your child’s art. Enjoy creating and framing memories with this craft!
Materials you’ll need:
- Craft sticks (popsicle sticks)
- Glue (craft glue or hot glue gun)
- Acrylic paints or markers
- Paintbrushes (if using paints)
- Scissors
- Clear adhesive tape
- Photos
Instructions:
- Start by laying out the craft sticks to determine the size of your picture frame. You’ll need four craft sticks for each frame.
- Apply a small amount of glue along one edge of a craft stick, and attach another craft stick to it perpendicular to create an L-shape. Repeat this step with the remaining two craft sticks, ensuring that all corners are square.
- Allow the glue to dry completely. If you’re using a hot glue gun, the drying time will be shorter.
- Once the glue has dried, you can paint the craft sticks using acrylic paints or decorate them with markers. This step is optional, but adds a fun and personalized touch to the frames. Allow the paint to dry before proceeding.
- Apply a thin line of glue along the backside of one of the craft sticks that will be the frame’s bottom or top. Place the photo on top, ensuring it is centered within the frame.
- Apply a small amount of glue to the backside of the other craft stick that will be on the opposite side of the frame. Press it firmly onto the back of the photo, sandwiching it between the two craft sticks.
- Use clear adhesive tape to secure the ends of the craft sticks together, creating a stable frame structure.
- Your craft stick picture frame is now ready! You can display it as is or add additional decorations like stickers, buttons, or ribbons to further personalize it.
6. Watercolor Bookmarks
For the bookworm kid, a watercolor bookmark is a craft they’ll use and appreciate all the time. Plus, watercolor painting is a ton of fun and a great way to experiment with blending techniques.
Materials you’ll need:
- Watercolor paper or heavy cardstock
- Watercolor paints
- Watercolor brushes
- Water cup
- Pencil
- Scissors
- Hole puncher
- Ribbon or string
- Pom poms, gems, and/or other decorations (optional)
Instructions:
- Start by cutting a rectangular piece of watercolor paper or heavy cardstock to your desired bookmark size.
- Fill a cup with water and wet your watercolor brushes. Dip the wet brush into the desired watercolor paint color and start painting your design on the bookmark.
- Allow the watercolor paint to dry completely. You can use a hairdryer on a low setting to speed up the drying process if desired.
- Once the paint is dry, use a hole puncher to make a hole at the top of the bookmark.
- Cut a length of ribbon or string, thread it through the hole, and tie a knot to create a loop. This will serve as a tassel or an easy way to mark your place in a book.
- Glue on pom poms, gems, or other decorations as desired.
- Your new watercolor bookmark is ready to use!
Enjoy crafting!
Whatever the final product looks like, remember to emphasize to your child that the most important part of crafting is to have fun in the process and celebrate their creativity. Have fun tapping into your imagination together and creating something uniquely yours!